If I could teach every pool owner in East Honolulu just one thing, it would be this: your filter is the single most important piece of equipment in your entire pool system. Not the pump, not the heater, not the salt cell — the filter. Everything else can be working perfectly, but if your filter is dirty, clogged, or worn out, your water will never be clean.
I have been servicing pool filters across Hawaii Kai, Kahala, Diamond Head, and the surrounding neighborhoods since 2000, and I can tell you with absolute certainty that filter neglect is the number one cause of water quality problems I encounter. It accounts for more service calls, more algae outbreaks, and more frustrated homeowners than any other single issue.
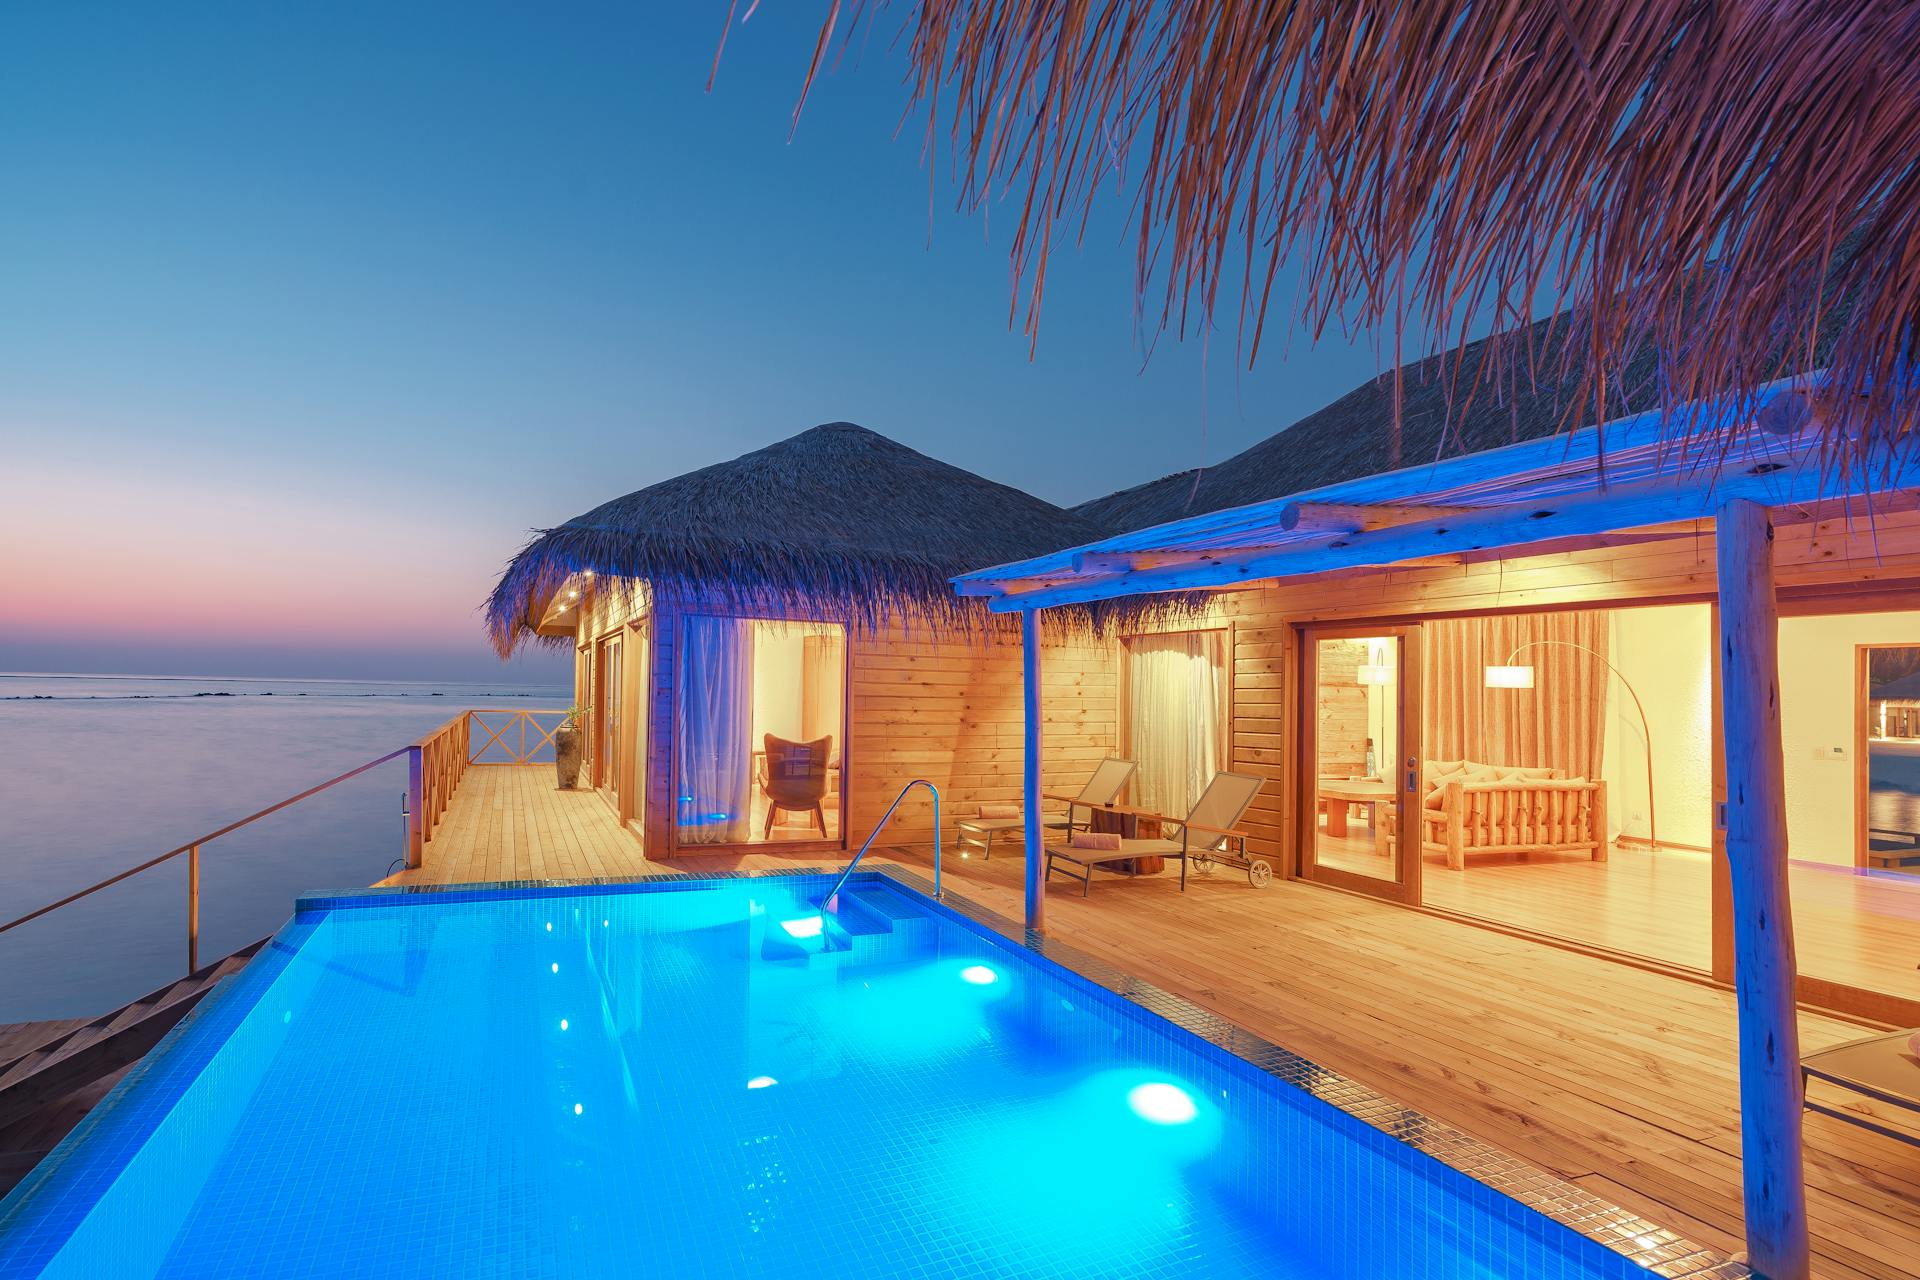
The challenge in Hawaii is that our filters work harder than filters anywhere on the mainland. There is no off-season. Your filter runs 365 days a year in warm water conditions that accelerate organic growth, with trade winds depositing debris daily, and salt air corroding components from the outside. Understanding how to properly clean and maintain your specific filter type is not optional here — it is essential.
- Why Hawaii Filters Work Harder
- The Three Filter Types Explained
- When to Clean Your Filter
- Safety First: Before You Open Anything
- Cleaning Cartridge Filters Step by Step
- Cleaning Sand Filters: Backwashing Done Right
- Cleaning DE Filters: The Premium Approach
- Inspection and Damage Signs
- Replacement Schedules for Hawaii Conditions
- Pro Tips from 26 Years of Filter Service
- Frequently Asked Questions
Why Hawaii Filters Work Harder
Before we get into the cleaning process, I want to explain why filter maintenance in Hawaii is fundamentally different from what you will read in most mainland pool guides. Those guides assume your pool is used for three to five months per year and sits dormant the rest of the time. That does not apply to us.
Here in East Honolulu, your filter deals with several unique challenges:
Trade wind debris. Our northeast trade winds blow almost daily, carrying plumeria blossoms, palm frond fragments, pollen, insects, and salt mist directly into your pool. Properties in Hawaii Kai and Kuliouou that face the windward side catch the most. This debris load is significantly higher than what a mainland pool filter encounters during its short season.
Year-round organic growth. Water temperatures in our pools rarely drop below 75 degrees, which means bacteria, algae spores, and organic matter grow continuously. Your filter is fighting a 12-month battle rather than a seasonal one. The biological load on a Hawaii pool filter is roughly double that of a comparable pool in Arizona or California.
Salt air corrosion. Even if you do not have a saltwater pool, the ocean salt carried by trade winds corrodes filter housings, clamps, bolts, and O-ring grooves over time. I see significantly more corrosion-related filter failures here than my colleagues report on the mainland, and the damage happens faster than most homeowners expect.
Reef-safe sunscreen residue. Since Hawaii’s reef-safe sunscreen law, many swimmers have switched to mineral-based sunscreens containing zinc oxide and titanium dioxide. These mineral sunscreens leave a milky, oily residue in pool water that is noticeably harder on filters than the chemical sunscreens they replaced. I have seen cartridge filters clog twice as fast in homes where multiple family members swim daily with mineral sunscreen.
The Three Filter Types Explained
Every residential pool uses one of three filter types. Knowing which one you have determines everything about how you clean and maintain it.
Cartridge Filter
Uses a pleated polyester or paper cartridge element to trap particles. No backwashing required -- you remove the cartridge, rinse it with a hose, and reinstall. The most common filter type in newer East Honolulu pools and the easiest to maintain for homeowners.
Sand Filter
Water passes through a bed of #20 silica sand that traps particles. Cleaned by backwashing -- reversing the water flow to flush trapped debris out through a waste line. Popular in older Hawaii homes and commercial pools because of their durability and simplicity.
DE (Diatomaceous Earth) Filter
The finest filtration available for residential pools. Uses a grid coated with diatomaceous earth powder to capture particles as small as 3-5 microns. Produces the clearest water but requires the most maintenance. Less common in Hawaii but found in high-end properties.
For context, a human hair is about 70 microns wide. A DE filter captures particles you cannot see with the naked eye, which is why pools with DE filters have that exceptional “crystal clear” quality. However, that precision comes at the cost of higher maintenance requirements and more frequent cleaning.
When to Clean Your Filter
The most common mistake I see among DIY pool owners is cleaning their filter on a calendar schedule rather than by reading the pressure gauge. Your filter tells you exactly when it needs cleaning — you just have to know how to listen.
The pressure gauge method: Every pool filter has a pressure gauge on top. When your filter is freshly cleaned, note the PSI reading — this is your “clean baseline.” When the pressure rises 8 to 10 PSI above that baseline, it is time to clean. In Hawaii, with our higher debris load, you will typically hit that threshold every two to four weeks for cartridge filters and every four to six weeks for sand and DE filters.
The pressure gauge is your best friend. A pressure rise of 8-10 PSI above your clean baseline means your filter is loaded and needs cleaning. Running a filter beyond this point does not just reduce water quality -- it forces your pump to work harder, increasing electricity costs (which already hurt at HECO rates) and shortening pump life. In severe cases, excessive back-pressure can crack filter housings or blow O-rings. Check your gauge weekly.
Beyond pressure readings, there are other signs that your filter needs attention:
If the jets that push water back into your pool feel weaker than usual, your filter is likely restricted. Reduced flow means reduced circulation, which leads to dead spots in your pool where algae can take hold.
If your pool is turning hazy or cloudy despite proper chemistry, the filter cannot keep up with the particle load. This is especially common after heavy trade wind days that deposit extra debris.
If your pool chemistry is balanced but you still see early signs of algae, poor filtration is likely the cause. Algae spores pass through a clogged filter instead of being captured.
A clogged filter creates back-pressure that makes your pump work harder and louder. If your pump sounds strained or you notice increased vibration, check the filter first before assuming a pump problem.
Kona wind events and tropical storms dump massive amounts of debris into pools in a short time. Always perform a filter clean after any significant weather event, regardless of the pressure gauge reading.
Safety First: Before You Open Anything
Pool filters are pressurized systems connected to electrical equipment. I cannot stress this enough: failing to follow proper shutdown procedures before opening a filter can cause serious injury.
Do not just flip the pump switch to "off" -- turn off the power at the circuit breaker. Pool pump switches can be faulty, and if the pump kicks on while you have the filter open, pressurized water will blow the housing apart. I have seen pool owners suffer lacerations and bruising from filter lids that launched off under pressure. This is the most important safety step and the one most frequently skipped.
Every pool filter has an air relief valve on top of the housing. Open this valve before attempting to remove the lid or clamp. This releases the trapped air pressure inside the filter tank. You will hear a hissing sound as the pressure escapes. Wait until the hissing stops completely before proceeding. The valve is typically a small twist knob or plunger on top of the filter.
After opening the air relief valve, give it a full minute before trying to open the filter. Even after the hissing stops, there can be residual pressure. If the lid or clamp feels like it is under tension when you start to loosen it, stop immediately and wait longer. Patience here prevents injury.
A word on Hawaii's humidity and corrosion: Filter lids, clamp bands, and bolt assemblies corrode faster in our salt air environment. If a filter lid is stuck or a clamp is frozen, do not force it with excessive leverage. Apply penetrating lubricant, wait 15 minutes, and try again. I have seen filter housings crack from homeowners using channel locks or hammers to free corroded components. If it will not open with reasonable effort, call a professional. Our equipment repair service handles stuck and corroded filters regularly.
Cleaning Cartridge Filters Step by Step
Cartridge filters are the most common type I see in East Honolulu homes built or renovated in the last 20 years. They are relatively straightforward to clean, but there are details that make the difference between a good clean and a great one.
After safely depressurizing the filter (see above), remove the lid and carefully lift out the cartridge element. Some filters have a single large cartridge while others have multiple smaller cartridges. Handle them gently -- the pleated fabric can tear if you grip too aggressively, and a torn cartridge cannot filter effectively.
Using a standard garden hose with a nozzle attachment, work your way down each pleat from top to bottom, spraying at an angle to flush trapped debris outward. Rotate the cartridge as you go to clean every pleat. Do NOT use a pressure washer -- the high pressure damages the filter fabric and opens up the weave, reducing filtration efficiency. I see this mistake constantly, especially from well-meaning homeowners who think more pressure equals more clean.
While the cartridge is wet and the pleats are separated, examine the fabric for tears, holes, fraying, or flat/collapsed pleats that will not spring back. Check the end caps for cracks and the center core for warping. Any damage compromises filtration and means it is time for a replacement.
A hose rinse handles surface debris, but mineral deposits, sunscreen oils, and body fat buildup require a chemical soak. Fill a large trash can with water and add a cartridge-specific cleaner (available at any pool supply store for $15-$25). Submerge the cartridge overnight, then rinse thoroughly the next morning. I recommend this deep soak every three to four months in Hawaii, or monthly during heavy-use periods. This is especially important for pools where swimmers use mineral reef-safe sunscreen, which leaves a stubborn oily film on cartridge fabric.
While the cartridge is out, rinse the inside of the filter tank. Debris and sludge accumulate on the bottom and sides. Wipe down the O-ring groove and the O-ring itself. Apply a thin layer of silicone-based O-ring lubricant (never petroleum-based) to maintain the seal and make the next opening easier. In Hawaii's humid, salty environment, this lubrication step is critical -- a dry O-ring in salt air degrades much faster.
Reinstall the cartridge, replace the lid, and tighten the clamp evenly. Close the drain plug if your filter has one. Turn the power back on at the breaker, then open the air relief valve to bleed air from the system. When a steady stream of water (no air) comes from the relief valve, close it. Note the clean pressure reading on the gauge -- this is your new baseline.
Cleaning Sand Filters: Backwashing Done Right
Sand filters are less common in newer Hawaii homes but still prevalent in older properties and commercial pools across East Honolulu. Their primary maintenance is backwashing, which reverses the water flow through the sand bed to flush out trapped debris.
The backwash process:
Connect a backwash hose to the waste port and run it to an appropriate drainage area (not into the street or storm drain — Honolulu regulations apply). Turn off the pump, set the multiport valve to “Backwash,” and turn the pump back on. Watch the sight glass on the valve body — the water will start out cloudy and gradually clear. Run the backwash for two to three minutes or until the sight glass shows clear water.
After backwashing, turn off the pump, set the valve to “Rinse,” and run for 30 to 60 seconds to resettle the sand bed and flush the plumbing. Then return the valve to “Filter” for normal operation.
Never Turn the Valve with the Pump Running
Always turn off the pump before changing the multiport valve position. Turning the valve under pressure can crack the valve body, damage the internal gasket, and force debris past the sand bed into your pool. This is one of the most expensive mistakes I repair.
You Lose Water During Backwash
Each backwash cycle sends 200-500 gallons of pool water to waste. In Hawaii, where water rates are above the national average, this adds up. Minimize unnecessary backwashing -- only backwash when the pressure gauge tells you to, not on a calendar schedule.
Sand Channeling Is Common in Hawaii
Over time, water finds the path of least resistance through the sand bed, creating channels that allow unfiltered water to pass through. This happens faster in Hawaii's year-round operation. Breaking up channels by stirring the top 2-3 inches of sand annually improves filtration significantly.
Annual Sand Bed Treatment
Once a year, add a sand filter cleaner to remove oils and organic buildup that backwashing alone cannot address. Pour the cleaner into the skimmer with the pump running, let it circulate into the filter, then turn the pump off and let it soak overnight. Backwash thoroughly the next day.
When to replace the sand: In Hawaii’s year-round conditions, I recommend replacing the filter sand every two to three years. On the mainland, sand can last five to seven years, but our constant filtration cycle and warm water temperatures break down the sand granules faster. You will know the sand needs replacing when backwashing no longer restores flow, water clarity suffers despite proper chemistry, or you see sand particles returning to the pool through the return jets.
Sand replacement costs $50 to $350 depending on filter size. The process involves removing the old sand (approximately 100 to 300 pounds for a typical residential filter), cleaning the laterals and standpipe inside the tank, and refilling with fresh #20 silica sand. This is one maintenance task I strongly recommend leaving to a professional — the laterals inside the tank are fragile, and cracking one during a DIY sand change means a full filter rebuild. If your filter is beyond cleaning and you need a replacement, our pool filter buying guide for Hawaii covers how to choose the right type and size for your pool.
Cleaning DE Filters: The Premium Approach
DE filters produce the clearest water of all three types, and I see them most frequently in high-end properties in Kahala, Hawaii Loa Ridge, and Portlock. The maintenance is more involved, but the water quality is unmatched.
Routine backwash: DE filters are backwashed similarly to sand filters — reverse the flow, watch the sight glass until clear, then rinse. However, after every backwash, you must add fresh DE powder to recoat the grids. The amount depends on your filter size (check the label on the filter tank for the exact charge). Add the DE powder slowly through the skimmer with the pump running to distribute it evenly across the grids.
Deep cleaning (twice a year minimum in Hawaii): Twice a year, open the filter tank and remove the grid assembly for a thorough cleaning. Hose off each grid individually, soak in a filter cleaner solution overnight, then rinse again before reinstalling. This removes the accumulated body oils, sunscreen residue, and mineral deposits that backwashing cannot reach.
DE powder disposal in Hawaii: Do not backwash DE powder into the street, storm drains, or the ocean. Diatomaceous earth can clog drainage systems and is harmful to aquatic environments. Direct your backwash hose onto a garden bed (DE is safe for landscaping) or into a collection area where the water can percolate into the soil. Some Honolulu neighborhoods have specific regulations about pool waste discharge -- check with your local guidelines.
Inspection and Damage Signs
Every time you clean your filter — whether it is a quick cartridge rinse or a full teardown — take two minutes to inspect for damage. Catching problems early saves you from expensive emergency repairs and prevents water quality disasters.
Check the main lid O-ring for cracks, flat spots, stretching, and brittleness. Hawaii's UV exposure and salt air degrade rubber O-rings faster than mainland conditions. Replace at the first sign of deterioration -- a $5 O-ring prevents a $500 leak. Keep a spare on hand.
Look for hairline cracks in the filter tank body and lid, particularly around bolt holes and clamp channels. UV exposure makes plastic housings brittle over time. A cracked filter tank under pressure is dangerous and needs immediate replacement.
Corrosion on the clamp band weakens its ability to hold the filter closed under pressure. Stainless steel clamps resist salt air better than zinc-plated steel. If your clamp shows significant rust or the bolt threads are corroded, replace it before it fails.
Pressure gauges fail more often than most homeowners realize, especially in salt air environments. If your gauge reads zero when the pump is running or gives inconsistent readings, replace it. A new gauge costs $8-$15 and takes five minutes to install. Without an accurate gauge, you are guessing at when to clean.
For sand filters, check the laterals (the slotted pipes at the bottom of the tank) for cracks during sand changes. For DE filters, inspect the grids for tears in the fabric and broken manifold connections. Damaged internal components allow debris to bypass the filter entirely.
Replacement Schedules for Hawaii Conditions
Everything wears out faster in Hawaii. The combination of year-round use, UV exposure, salt air, and warm water means you should expect shorter lifespans than what the manufacturer prints on the box. Here are the realistic replacement intervals I recommend based on what I see across my service routes:
Replacement Intervals
Replacement Intervals
Pro Tips from 26 Years of Filter Service
These are the things I have learned from cleaning thousands of filters across East Honolulu that you will not find in any owner’s manual:
Buy two cartridge elements and alternate between them. While one is in the filter, let the other dry completely in the sun (but out of standing water). A fully dry cartridge allows embedded debris to shrink and loosen, making the next rinse more effective. Rotating extends the life of both cartridges and means you are never without a clean filter while one is soaking in cleaner overnight.
If you have a variable speed pump, run it at higher speeds during early morning or evening hours when HECO rates may be lower and the biological load on your pool is less active. This optimizes filtration while reducing electricity costs. Your filter also performs slightly better when water temperature is cooler because there is less organic activity.
A filter cleaning wand attachment for your garden hose ($10-$20) has a curved, flat nozzle designed to get between cartridge pleats. It cleans cartridges two to three times more effectively than a standard hose nozzle and takes half the time. This is the single best accessory I recommend to every pool owner who cleans their own cartridges.
In addition to enzyme-based soaking, an annual acid wash removes calcium and mineral deposits that enzyme cleaners cannot dissolve. Mix a 10:1 water-to-muriatic-acid solution in a large bin, submerge the cartridge for 15 minutes (no longer), rinse thoroughly, then follow with a standard enzyme cleaner soak. Always add acid to water, never water to acid, and wear gloves and eye protection.
Apply a marine-grade protectant spray to exposed filter housing surfaces, clamp bands, and bolts two to three times per year. This creates a barrier against salt air corrosion. Clients in Portlock and Diamond Head who are closest to the ocean benefit the most from this simple step. A $12 can of corrosion protectant can save you from replacing a $200 clamp band or a $1,000 filter tank.
Essential Filter Cleaning Supplies
Before you start any filter cleaning job, gather everything you need. Having to stop mid-job to find a tool or run to the store wastes time and leaves your pool without filtration.
Your primary cleaning tool for cartridge filters and rinsing filter housings
Type-specific cleaner for deep soaks -- do not use household detergents, which create foam that takes weeks to clear
Big enough to fully submerge your cartridge element for overnight deep cleaning
Critical in Hawaii's salt air -- keeps O-rings supple, prevents sticking, and ensures a proper seal
Keep one on hand so you can replace immediately when you spot wear -- $5 prevents a major leak
Direct dirty backwash water away from the pool and into an appropriate drainage area
Frequently Asked Questions
How often should I clean my pool filter in Hawaii?
Use your pressure gauge as the primary indicator -- clean when pressure rises 8-10 PSI above your clean baseline. In Hawaii's year-round conditions, this typically means every 2-4 weeks for cartridge filters and every 4-6 weeks for sand and DE filters. Deep cleaning (overnight chemical soak for cartridges, annual sand bed treatment, semi-annual grid cleaning for DE) should happen every 3-4 months. These intervals are significantly shorter than what mainland guides recommend because our filters never get an off-season break.
Can I use a pressure washer to clean my filter cartridge?
No, and this is one of the most damaging mistakes I see. Pressure washers destroy the fine weave of cartridge filter fabric, opening up the pores and dramatically reducing filtration efficiency. A cartridge that has been pressure-washed may look clean but will let particles pass through that it should be capturing. Use a standard garden hose with a nozzle or a dedicated filter cleaning wand. The cleaning takes a few more minutes, but your cartridge lasts much longer and filters much better.
Why is sand coming back into my pool through the jets?
Sand returning to the pool through the return jets indicates a cracked lateral (the slotted pipes at the bottom of the sand filter tank) or a broken standpipe. The sand is bypassing the filtration system and going directly into the pool. This requires opening the filter tank, removing the sand, and inspecting the internal components. A cracked lateral costs $15-$30 for the part but requires complete sand removal to access. If multiple laterals are cracked, it is often more cost-effective to replace the entire lateral assembly. This is a repair I recommend having a professional handle, as the process is labor-intensive and damaging additional laterals during a DIY attempt is common.
My filter pressure is low even with a dirty filter. What is wrong?
Low pressure with a dirty filter suggests a problem upstream of the filter -- meaning the pump is not delivering adequate flow. Common causes include a clogged pump basket, blocked skimmer line, air leak in the suction plumbing, or a failing pump impeller. Check the pump basket first (this is the most common culprit in Hawaii, where trade wind debris fills baskets quickly). If the basket is clear, check for air bubbles in the pump strainer lid, which indicate a suction-side air leak. If you cannot identify the cause, our equipment repair team can diagnose the issue.
Is it worth upgrading from a sand filter to a cartridge or DE filter?
It depends on your priorities. Upgrading from sand to cartridge gives you finer filtration (10-15 microns vs. 20-40 microns) and eliminates the water waste from backwashing. Upgrading to DE gives you the finest residential filtration available (3-5 microns) and the clearest water. Both upgrades are common when sand filters age out in East Honolulu homes. The trade-off is that cartridges and DE grids require more hands-on maintenance. If you have a professional service handling your maintenance (like our weekly service), upgrading makes great sense. If you are fully DIY, stick with whatever type you are most comfortable maintaining consistently.
How do I know when my cartridge needs replacing versus just cleaning?
Replace the cartridge when: cleaning no longer brings the pressure back to near its original baseline; the pleats are permanently flattened and do not spring back when wet; you can see visible tears, holes, or fraying in the filter fabric; the end caps are cracked or the center core is warped; or water clarity does not improve after a thorough cleaning. In Hawaii, I typically see cartridges needing replacement every 12-18 months with regular maintenance, or sooner in pools with heavy use or frequent mineral sunscreen exposure. If you are cleaning more than once a week and the pressure still climbs quickly, the cartridge is worn out.
Let Us Handle Your Filter Maintenance
Filter cleaning is the most impactful single thing you can do for your pool's water quality, and it is a core part of every service visit from Koko Head Pool Service. My father Jim started this company in 1995, and I have been personally maintaining filters across Hawaii Kai, Kahala, Diamond Head, and all of East Honolulu since 2000. If you are tired of wrestling with corroded clamps, guessing at pressure readings, or just want more time swimming and less time scrubbing cartridges, we are here to help.
Get a Free Quote